DIY Christmas Tree Decor
I've been wanting to make some Christmas Tree decor since Oct, I finally got around to it a few weeks ago...I know and I'm FINALLY blogging about it! In my defense I've been very busy during Christmas break trying to get ready for Christmas, Boo's birthday, and having the kids at home :)
Back to the tree decor...

These are the completed trees, below is the process:

The candlesticks, I actually bought 2 of the glass ones to stack but ended up not making a 3rd tree yet so maybe I'll add it next year or use them for another project...

I then bought 3 Styrofoam trees BUT found a crafty way to make the trees without the cones so I only used 1 of the cones, I got the large one for 40% off with coupon

I started with the large tree, ribbon, and a hot glue gun (low heat) FYI I ended up needing 3 rolls of ribbon and only bought 1 each time so I had to stop and get more, next time I'll by extra to begin with!

Then I cut part of the Styrofoam out to fit the candlestick, I just used a steak knife...I know risky considering our family history with steak knives, but thankfully I did so without incident
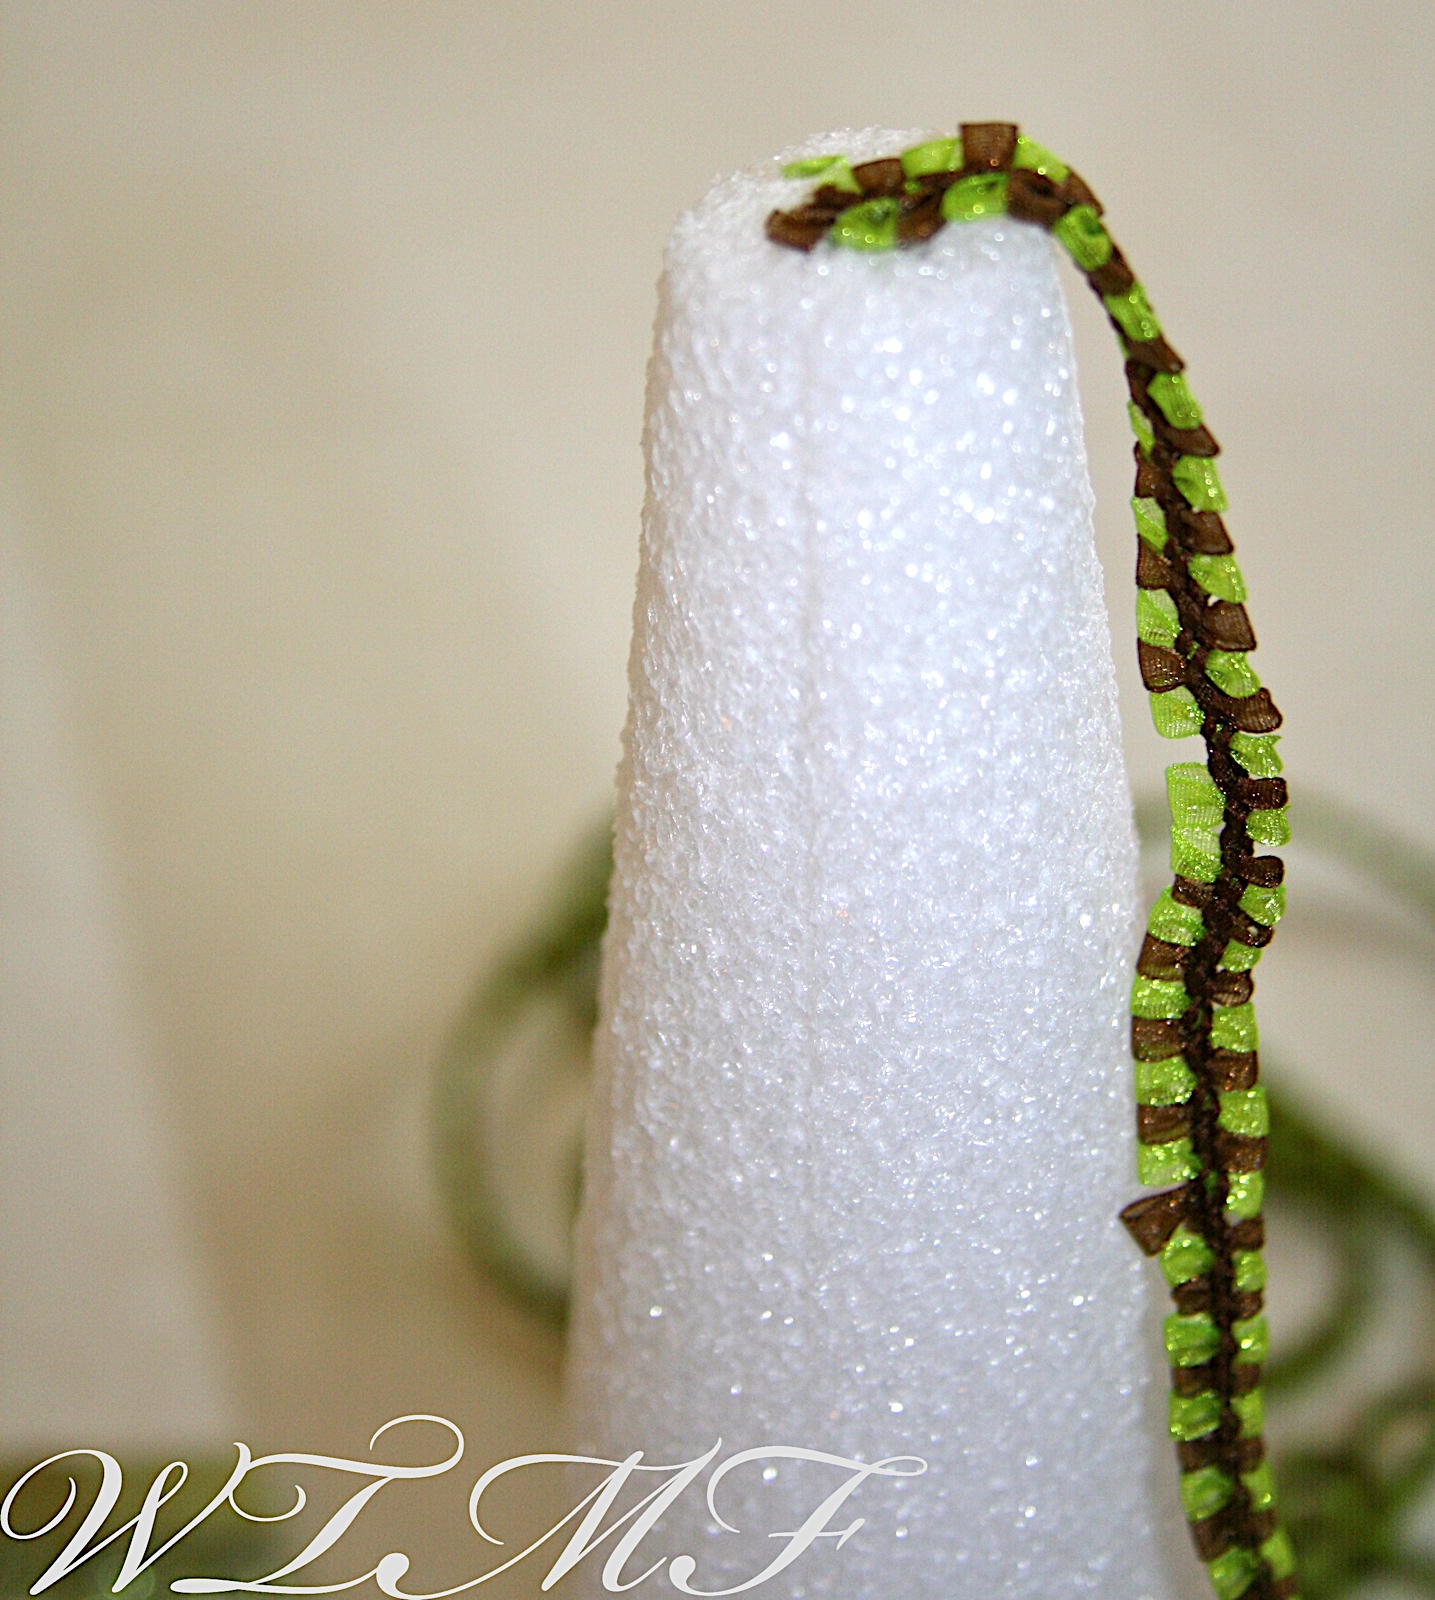
I started by gluing the ribbon to the top center

Then curling it around as I went gluing it down. This is where the low heat glue gun comes in so you don't burn your fingers!

Here it is when I ran out of the first roll of ribbon

I then decided to glue on the decorative ribbon on the base, which I scored in the clearance section for 30 cents with another piece of ribbon!

All glued on

Close up of the bottom half all completed

Whole completed tree

Next I decided to try the cheaper route, I wrapped scrapbook paper around the Styrofoam cone and used the paper cone as my tree. That make it way cheaper than $3.99! I then cut some strips of green burlap that I scored on clearance and used the hot glue gun to glue on.

I glued a piece to the top

Then started cutting and wrapping the strips around and fraying the bottoms

After much trial and error I found the quickest process to be to hold up the above layer with a hair band (pony tail holder) and glue the next one underneath, fray it, then fold it up with the hair band and repeat.

Next I needed to figure out how to get it to stay on the candlestick since I was no longer using the cone. I quickly ate 2 Mott's Applesauce and 'recycled' the containers after a quick wash & dry. I accidentally tore the whole lid off the first one but I just hot glued it back on.

Then I shoved them both up in the scrapbook paper tree and set it on the candlestick, pretty nifty huh?!

The finalized trees with my Willow Tree nativity that I scored guess where...yep New In the Box from the thrift store! :)
Final cost:
Ribbon tree- candlestick $4 (which I only paid that much for because I really liked it, it was already 'finished' and I'll probably reuse for something else as well), ribbon $3 (50% off), Styrofoam cone $3, and base ribbon 15 cents for a total of $10.15. I could've done it for cheaper ($7.25) IF I'd figured out the scrapbook paper trick with this first tree as well.
Burlap tree- candlestick $1, spray paint $1 (because I still have a whole can for other projects), burlap $1, applesauce containers (free had at house), scrapbook paper 10 cents for total of $3.10

posted by Mrs. B @ 6:00 AM
![]()


0 Comments:
Post a Comment
Subscribe to Post Comments [Atom]
<< Home