Wooden Photo Frames
Some of my crafty Pinterest friends wanted to make Wooden Photo Frames for teacher gifts for Christmas. We have 1 male teacher so I wasn't sure about the idea but I decided to give it a go :) Basically they were taking a block of wood painting/distressing it and then putting a photo on it with pushpins/nails and a burlap bow, I was not feeling male teacher with that idea ;) Not having a photo of an idea, just a description from my friend I decided to put my own spin on it and LOVE the results!
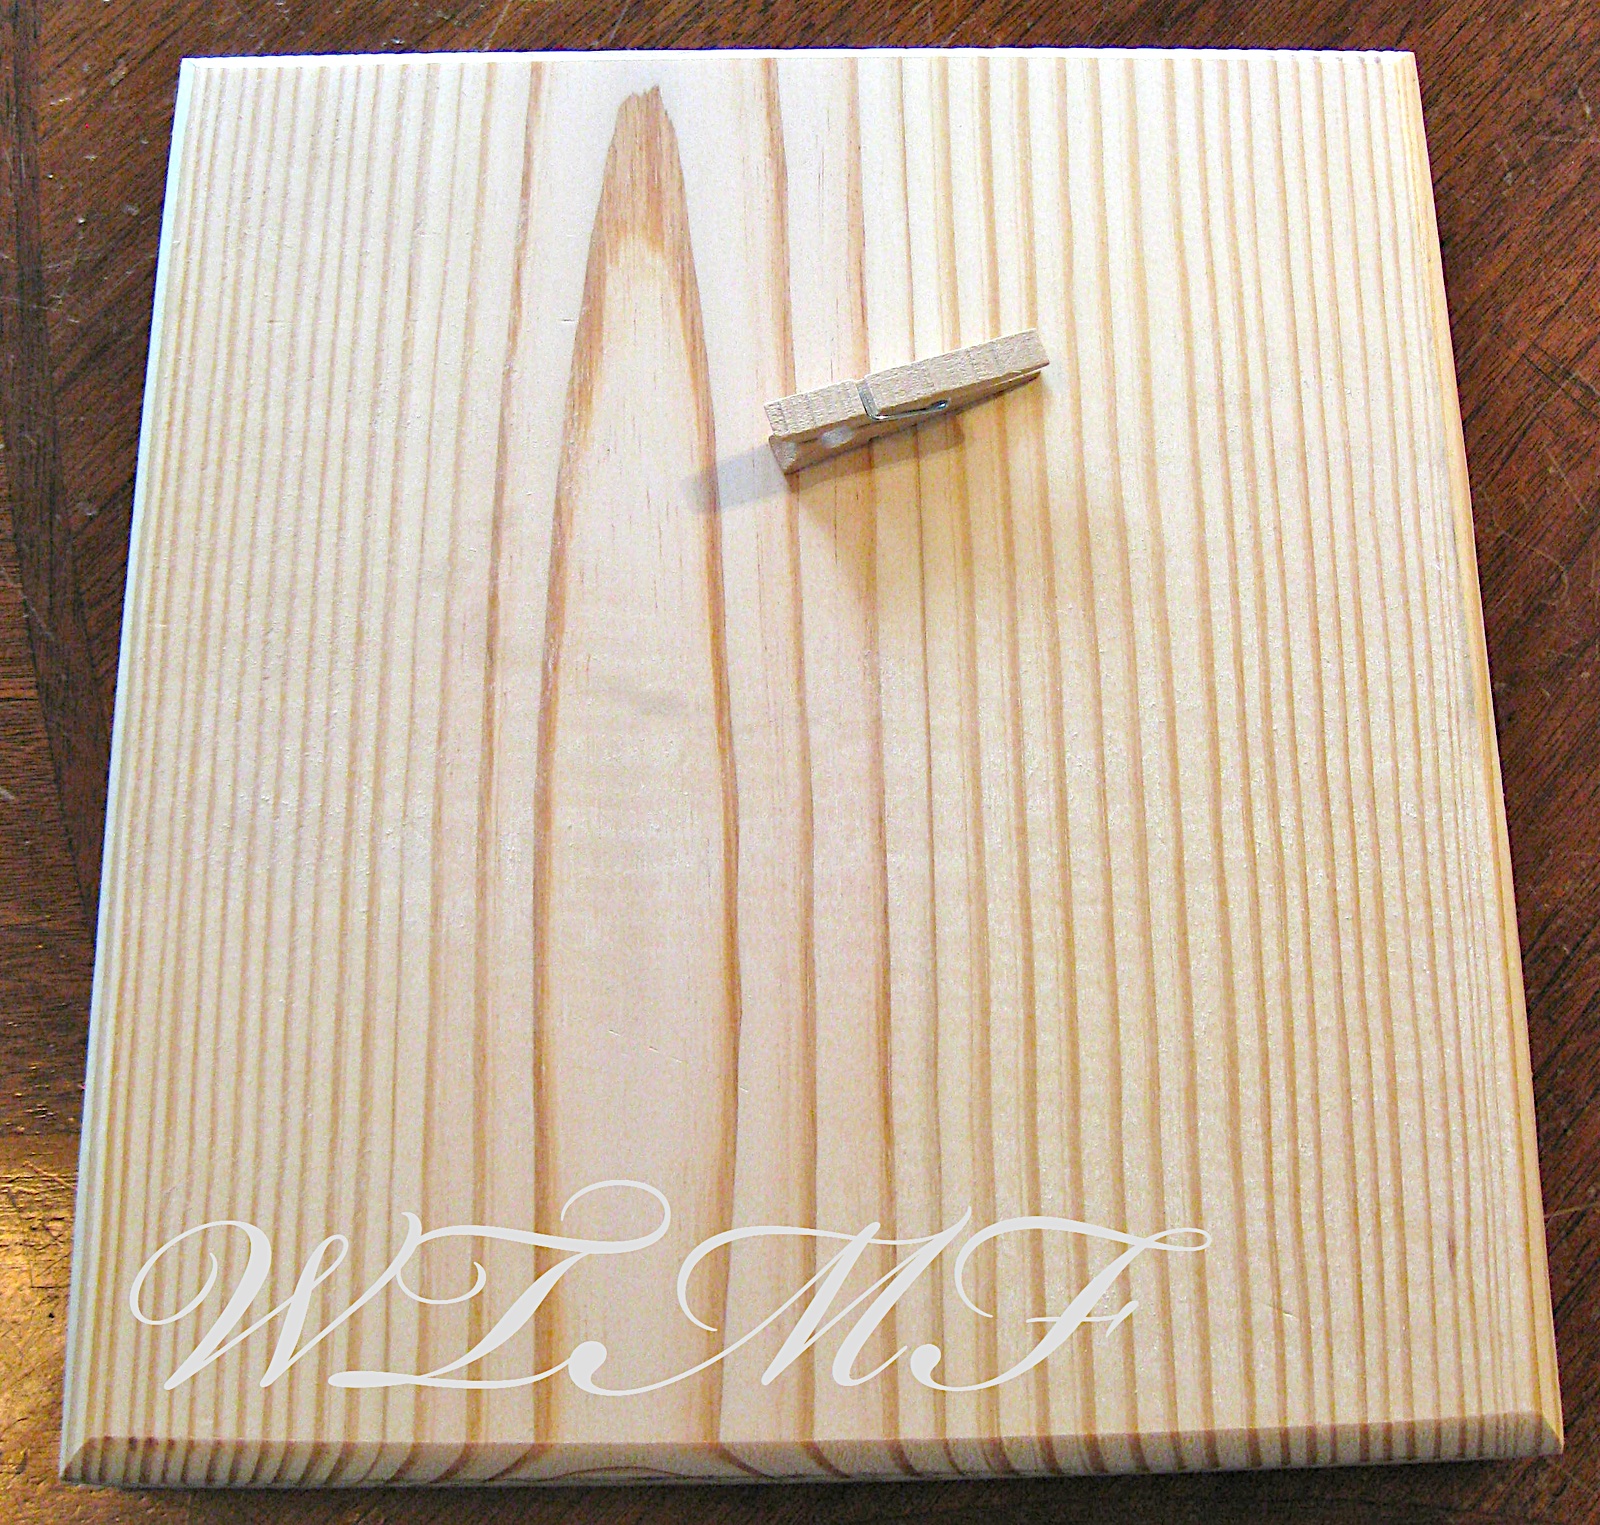
I started with a 'naked' piece of 8x10 in wood and mini 2 in clothespin
Then I stained both the wood & clothespin with 2 coats of pecan stain, sorry this photo gives it a weird look but my 'good' camera was charging for a photo shoot later today :) I have been wanting to stain 'something' for awhile, I was quite surprised by how easy it was!
Naked wood with the stained wood, coloring is a bit off in this one
I then remembered that I've seen some really cute stuff online with twine...so I decided to add some to mine. I nailed it onto the side with a tiny nail that Mr. B had in a 'nail bucket' in the garage :) Then I printed a photo I made, and clipped it to the diagonal twine and Viola! Project done! I love that the teachers will be able to easily change out the photo as desired. I had thought about gluing the clothespin but this provides much more flexibility
Loving it! Not sure what I'll do yet for the 2 female teachers but I still have a bit of time to work on it ;)

Fireman Birthday Party
A few weekends ago I had the opportunity to take pictures at a birthday party that my friend threw for her 3 year old twin boys. It was great fun and a good 'hands on' learning opportunity for me ;) While I personally do not enjoy planning birthday parties, thinking of decor, ect. I do love going to the parties and appreciating all the work and effort. Everything was so stinking cute!
Here are some of the photos:
Family Dinner Night Game
I've always believed that it's important to sit down as a family and eat together, during the kids football season we don't get as many nights as I'd like, but now that it's over we'll be back to 5 nights a week!
Last year around Christmas time I was shopping in Hallmark and ran across this game:
I bought it and we started to play it at dinner...of course with our own modifications :) Each person would take a turn drawing a stick and then the other 4 would try to guess how that person would answer. It turned out to be fun and something the kids looked forward to every night. But then we ran out of questions and started to repeat the same ones over and over and over, and it just wasn't as fun anymore.
When I was on Pinterest (I know when am I not, right?) I found this awesome blog called How Does She and one of the posts was on how to make a homemade
Family Dinner Night Questions game!
So I quickly printed out the provided questions onto colored paper and cut them into strips. I removed some of the questions to fit out how we play the game. She suggests that the parents take a question out and read it but our kids love having everyone get to choose and read a question. I threw them in a mason jar and added and ribbon and it's ready to play!
After we run out of these I'm going to have the kids each submit 40 questions so we can keep the fun rolling along :)
Wooden Pumpkins
Earlier this week I got together with some friends for a 'Pinterest' party where we made these super cute pumpkins! And of course I had to take my camera with me to document the process :) Also I highly recommend having a Pinterest party it was so much fun!
Here they are cut with the divots (I guess that's what they are called, LOL!) in them ready to be painted. Luckily my friend was able to have her dad help her cut the wood and put in the lines in them. She was then able to manhandle them with the belt sander to sand down all the edges :)
Pumpkins & stems (There were 4 of us so we needed 4 sets)
I painted my pumpkins with this lovely Terra Cotta color, love how it turned out
First coat on
Second coat on
Pumpkins & stems drying
Then we glued the stems on with super strength glue and left them to dry overnight...
I picked mine up the next day and brought them home and tied on the twine. Right now they are happily 'resting' in front of my Japanese glass fishing floats until I can find them a permanent location :)
Again this was another Pinterest project that we all decided we just 'had' to do :)
Photo Cube Decor
When I seen the photo cubes on Pinterest I just knew I had to make them!! Thankfully this
blog even had a template all ready to use! I've been taking a Photoshop class, so it was a breeze to pop the photos right into the spots and make my blocks.
I wanted to make 8 blocks so I just chose 3 photos for each block, made them black & white and duplicated them in another layer in PS to make 6 photos, because you don't see all the sides at the same time anyways...kwim?!
To get the different sizes I just reduced the scale when printing to make some smaller, I also saved the files so I can go back and print more anytime I want.
I got moss from the Dollar store and put it in the bottom, I LOVE them :)
See my one empty jar just waiting for a project to fill it.....
This is what they look like fresh out of the printer, you just cut and glue and viola instant photo decor!
Book Tree
I loved my book pumpkin so much that I decided I would try to make something else...I love how
Pinterest gives you an idea but then it also spawns tons of other ideas in your brain! So I decided to make a tree!
This shows how choosing books of various heights can make larger or smaller shapes
It was super easy! I just drew a quick template (like above) and then removed cover from the paperback book and trace it on there. I cut the pages with scissors and glued together. It got a bath in green spray paint too! I may add a star or something to the top...but I'll work on that as it gets closer to time to decorate for Christmas...I still have several fall projects to get knocked out ;)