Baby Gate Eye Sore No More
Nope, there are no babies in the house BUT we do have a baby gate that we use for our dog Mac when we are not home. It keeps him in his 'safe zone' in the laundry room. And while I love the function of it I have always HATED how ugly it was!
Mac likes the new gate as well
I know, I know baby gates are not made to be 'pretty' but instead to keep in/out kids and pets but since I've been on such a huge DIY kick I thought I'd give it a go on the ugly baby gate.
I grabbed my favorite can of stain (I used RustOleam Dark Walnut) and set to work and now it is SO much better!
It went from this:
to this:
and I am much happier with it! I may end up distressing it a bit more because I'm kinda on a 'distressed look' kick but I'll probably wait a few days to feel it out
When it's not in use we set it against the wall by the baker's rack and it always irritated me how it looked there, now I don't mind it as much
It's the little things in life I tell ya ;)

Growing Up & Archimedes
Ever wonder what your kids will look like when they grow up...somehow this wasn't want I was expecting:
LOL!
Then he wanted it braided...ugh! So why was he sporting crazy facial hair? He was practicing using it for his Archimedes costume
Archimedes
I had to jump in on the action
and so did Mr. B, then later that night Bubby decided to have Boo & his friend try out the 'fun'
Wow, I've decided that Boo should NEVER had a beard, LOL!
And I heard they were quite entertaining around the neighborhood & bowling alley with people taking pics, wonder who's Facebook they ended up on that night?! LOL
DIY Ruler Growth Chart
Once again I've been bitten by the Pinterst bug! I just knew had to make a Ruler Growth Chart :)
I started with a 2x10x8, which I cut down to 6 ft long. So the board is 6 feet tall and when hung 6 inches up from the floor it will be a 6.5 ft ruler
I used RustOleum Dark Walnut because I like the darker stained look, it's also the same stain I used on my
DIY planter centerpiece. I stained the sides and both sides of the boards, it took it a bit longer to dry since it was pretty cold the day I stained it...but I just couldn't wait for warmer weather ;)
After staining I brought it into the house to work on putting on the ruler lines & numbers.
The HARDEST part was getting the template set up on my Silhouette Cameo so that the measurements were accurate! After finally getting the spacing right (1 inch apart) I was set to start with the 7 inch mark and then go up to 1 foot. I cut the lines out of contact paper so that I could stick it on the ruler and use it as a stencil! Above is the contact paper stencil before I applied it to the ruler
The specifics for the ruler lines. My lines were 1/4 inches wide.
The inch lines were 1/4 in wide by 2 in long
The quarter inches were 1/4 in wide by 3 in long
The foot lines were 1/4 in wide by 4 in long
I used a clear contact paper so that I could make sure that I could 'see' where I was lining things up, see the stencil on the left side?
Close up of the stencil on the board
Then I used a black acrylic paint and painted the lines of the stencil, I used 2 coats
All the lines painted and drying
Then I peeled the stencil off, see the first half of the ruler...
They were still drying when I peeled it off, as I'm a bit impatient ;)
Then I cut out the numbers 1-6 on contact paper and stuck them on the board, then painted the with black, also using 2 coats.
You can use any font/size that you want. I tried a few and found that I liked Adobe Fangsong Std R (I have a Mac) and my numbers were 3.2 in tall by 2 in wide.
All numbers painted and drying, and yes I did stain the top and bottom after I was done, I forgot to do it ahead of time
And the finished product! I LOVE it!
If you don't have a Silhouette machine you can free hand the lines and put them on using a measuring tape to mark them out every 1 inch, or tracing them on, or using a stencil made out of card stock.
You can use any number stencils or free hand them, I am not that talented so I had to use a stencil.
Thumbtack Decor
Yep, that's right, you can make decor with thumbtacks and it's so very fun & addicting!
Of course as always I seen the idea on Pinterest from this
blog and HAD to try it!
I ran out and grabbed several boxes of thumb tacks (300 count for $1 at the Dollar Store) and a 6 pk of 3" Styrofoam balls from Hobby Lobby and I got to work!
I started with 3 boxes of silver thinking I'd only need 150 for each ball, instead I needed 300 per ball and had to have a friend get me three more boxes and they only had gold...which really didn't matter since I'd be spray painting them anyways.
I made a line around the ball with the tacks
Then I started filling in, trying to not leave large spaces
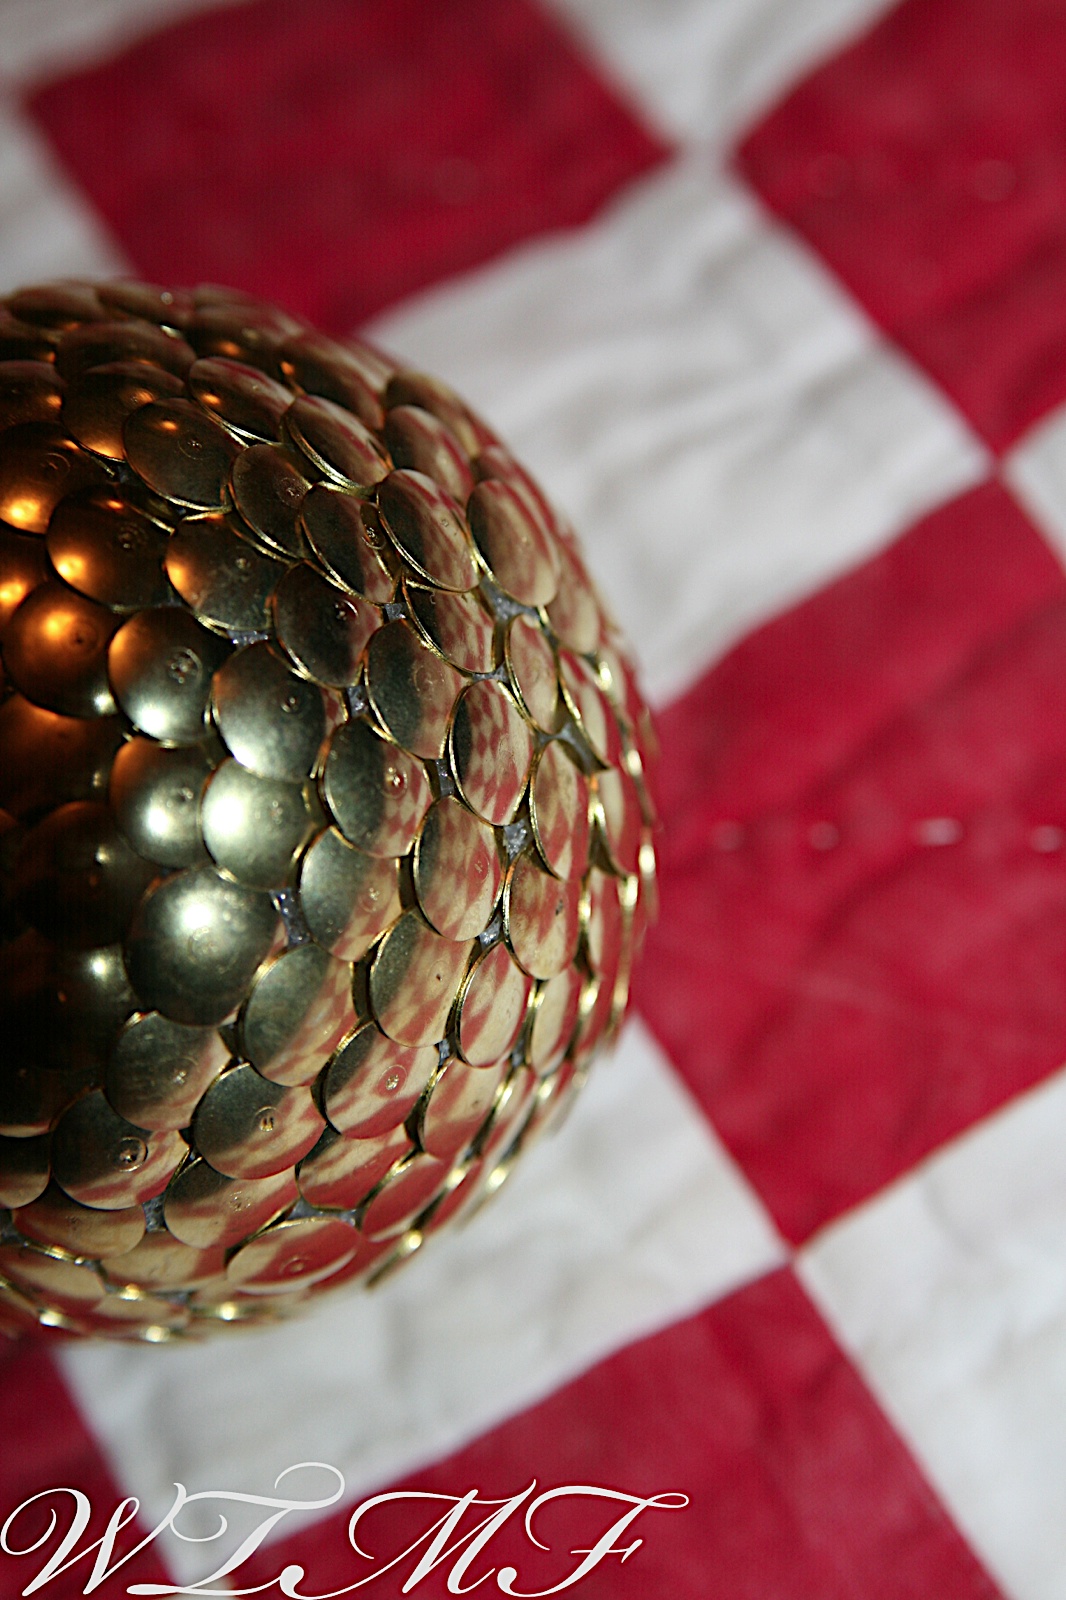
Finished gold one
Close up
Gold & Silver, while I do LOVE the silver ones, I'm not so keen on the gold ones...just not a big fan of gold in general
I didn't have any bamboo skewers so I made my own 'post' by shaving down some bamboo chopsticks, worked like a charm!
Spray painted with Valspar Gloss Tropical Oasis & the green below is Valspar Satin Leafy Rise
I decided on 2 of each color
Finished!
Funny enough they even happen to go with the decor on my Tibetan trunk!
Crafting craziness going on around here for sure!
Spray Paint is a HOOT
I have a new addiction...it's spray painting! And I'm just getting started, LOL!
I found this owl at Kirkland's
and while he was cute I wanted him to 'pop' so I decided to cover him with Valspar Tropical Oasis, originally I had planned on covering him all in blue BUT while I was spray painting him blue, I turned the can upside down while painting the side and it turned GREEN! I started to panic! I grabbed a paper towel to try to rub it off and then ran in for a wet rag. When I rubbed it off I found that I really LOVED how it looked and so here is my happy accident
I still have no idea why it turned green. I stopped and read the directions, shook the can for 1 minute and then tried again on a piece of paper and I still seen some green. I'll give it another go here sometime in the near future and hope it doesn't happen again! If it does I'll stick to other brands of spray paint.
DIY Decorative Planter Centerpiece
I seen this super cute planter on this
blog awhile back and wanted to make it, well a smaller version of it!
The one on the blog was 4 feet long but I wanted to use it for my newly refinished cabinet so I needed it to be only 1 1/2 feet long.
I started with some scraps of 2x4 and a 2x6x4 whiteboard that I cut for the sides, and the saw worked great! It was my first 'self' project using it.
I nailed it all together
The 'shanty' looking ends
I stained it and let it dry, then I added the upholstery tacks on the side for a decorative look
I bought some triangle shaped bottles and stem of red flowers from Hobby Lobby, I even 'refinished' the owl....but another post about him later :)
Planter on the cabinet
Loving the red flowers
LOVE the outcome! It was super easy and pretty quick to make!